Webhooks
This guide will walk you through the process of creating and managing webhooks, as well as viewing recent deliveries using the Webhooks UI. The Webhooks UI is designed to provide a streamlined experience for handling webhooks and viewing delivery information, all within the Fenergo SaaS application. Fenergo SaaS offers a powerful set of webhooks APIs that allow customers to listen to internal events and receive event-related payloads at their specified URLs. Follow the steps below to effectively utilize the Webhooks UI.
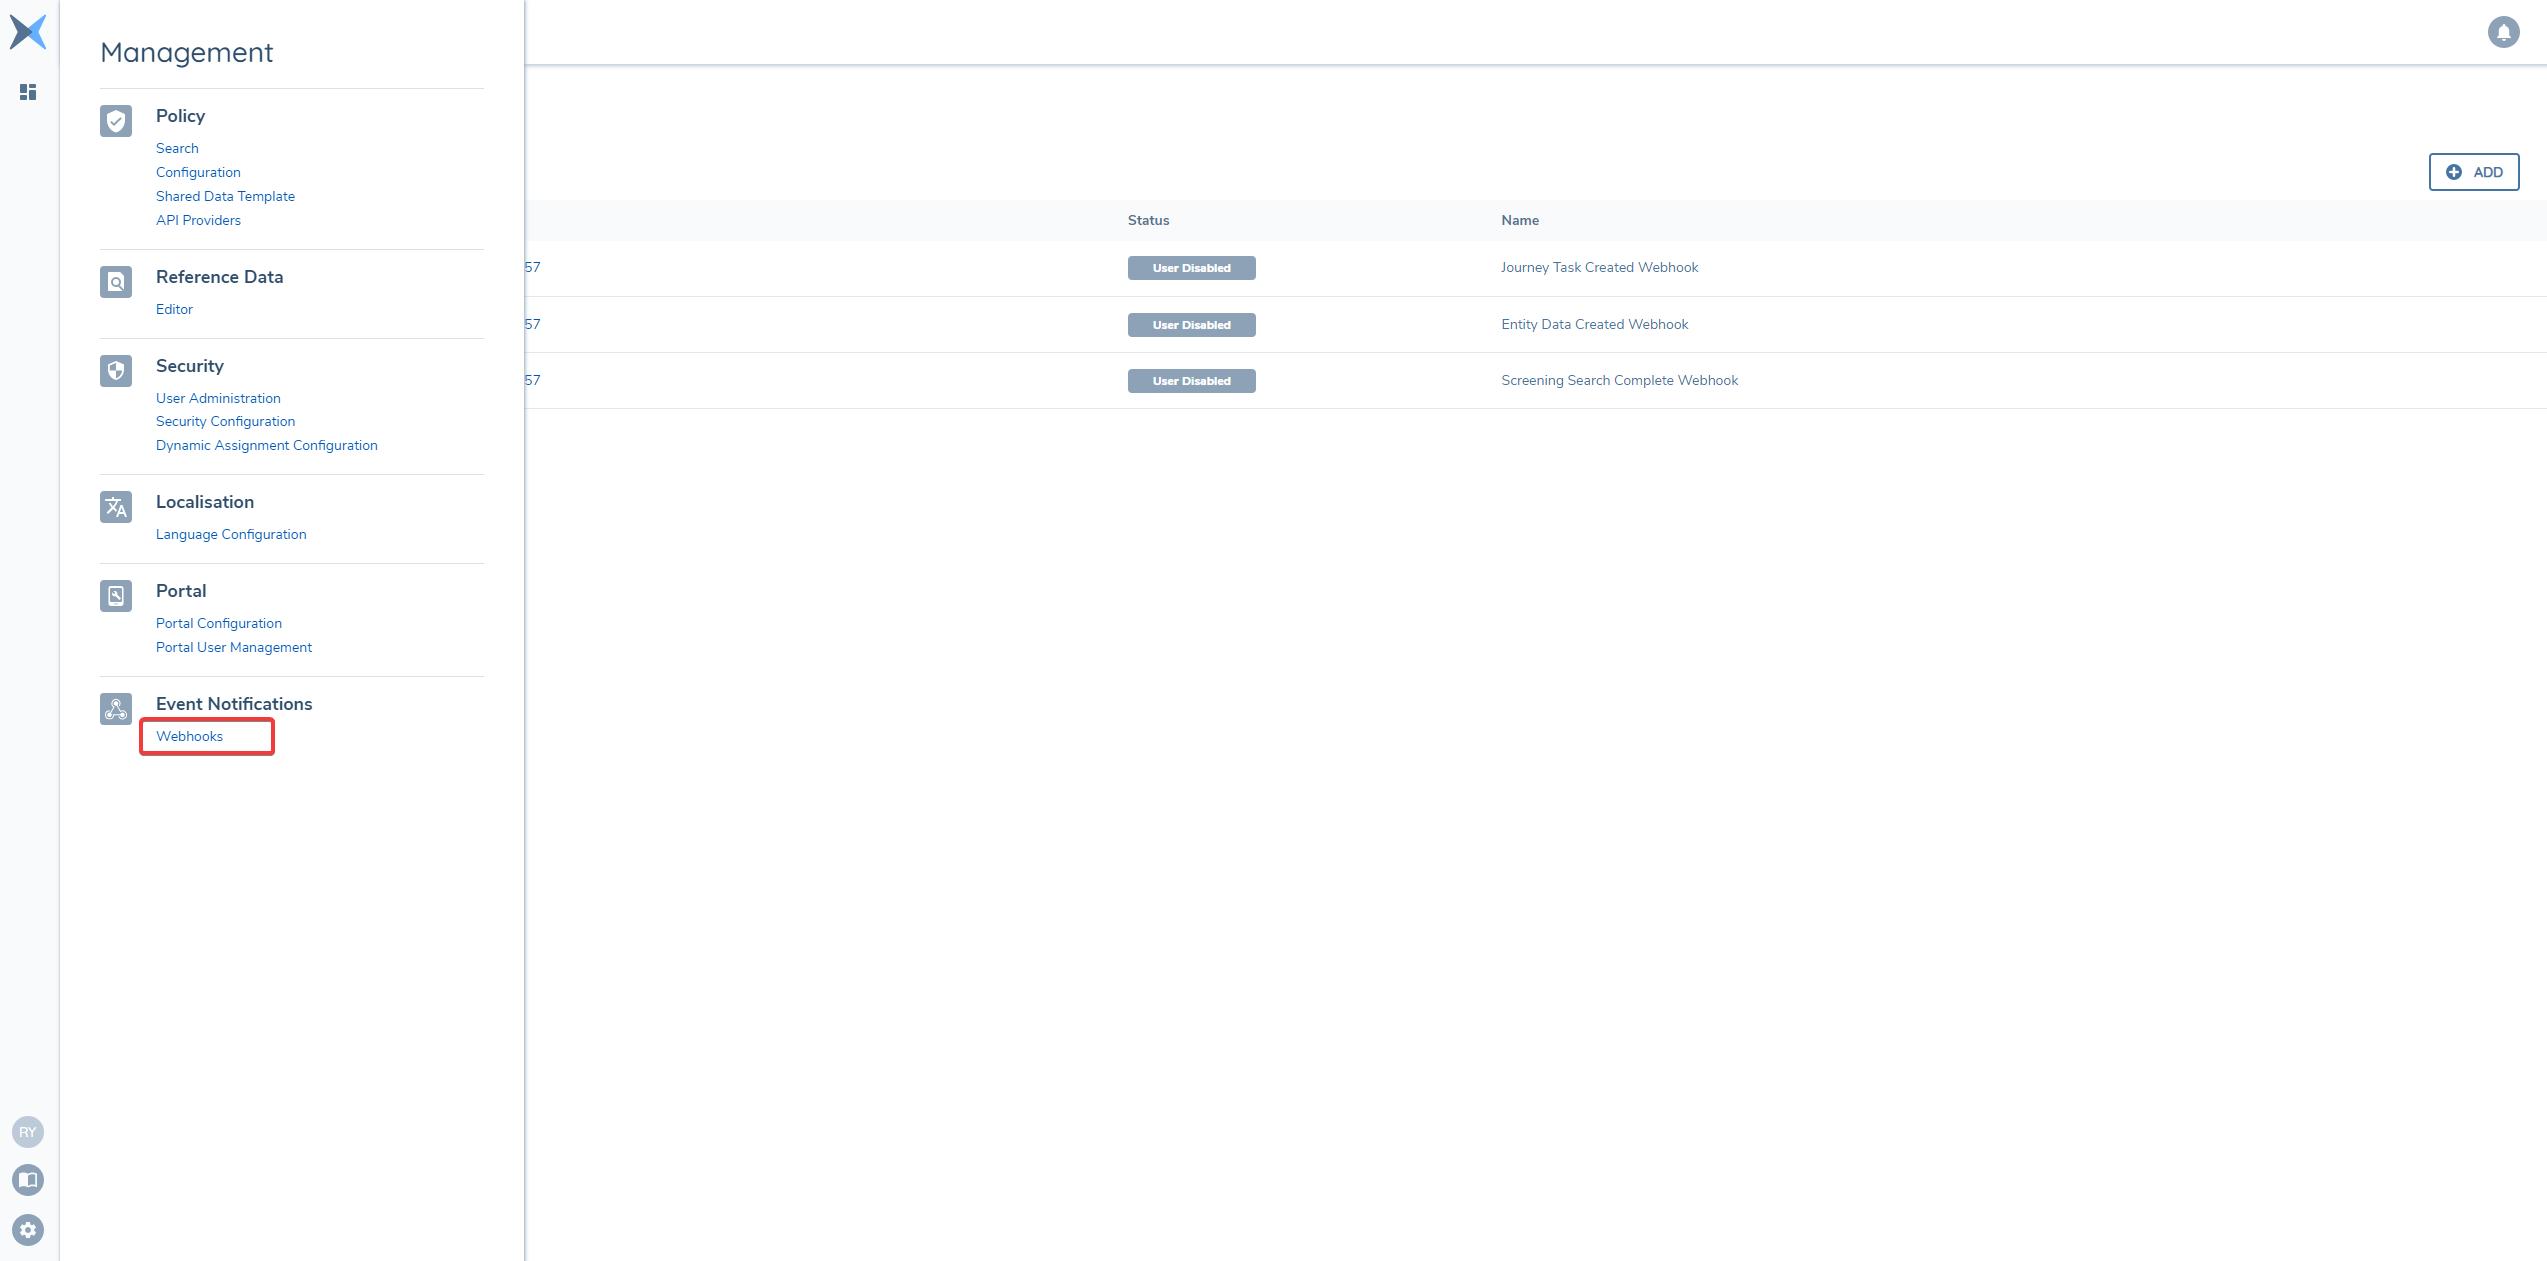
Accessing the Webhooks UI
Login to Fenergo SaaS application. Use the Management menu and locate Event Notifications. Click on Webhooks menu item.
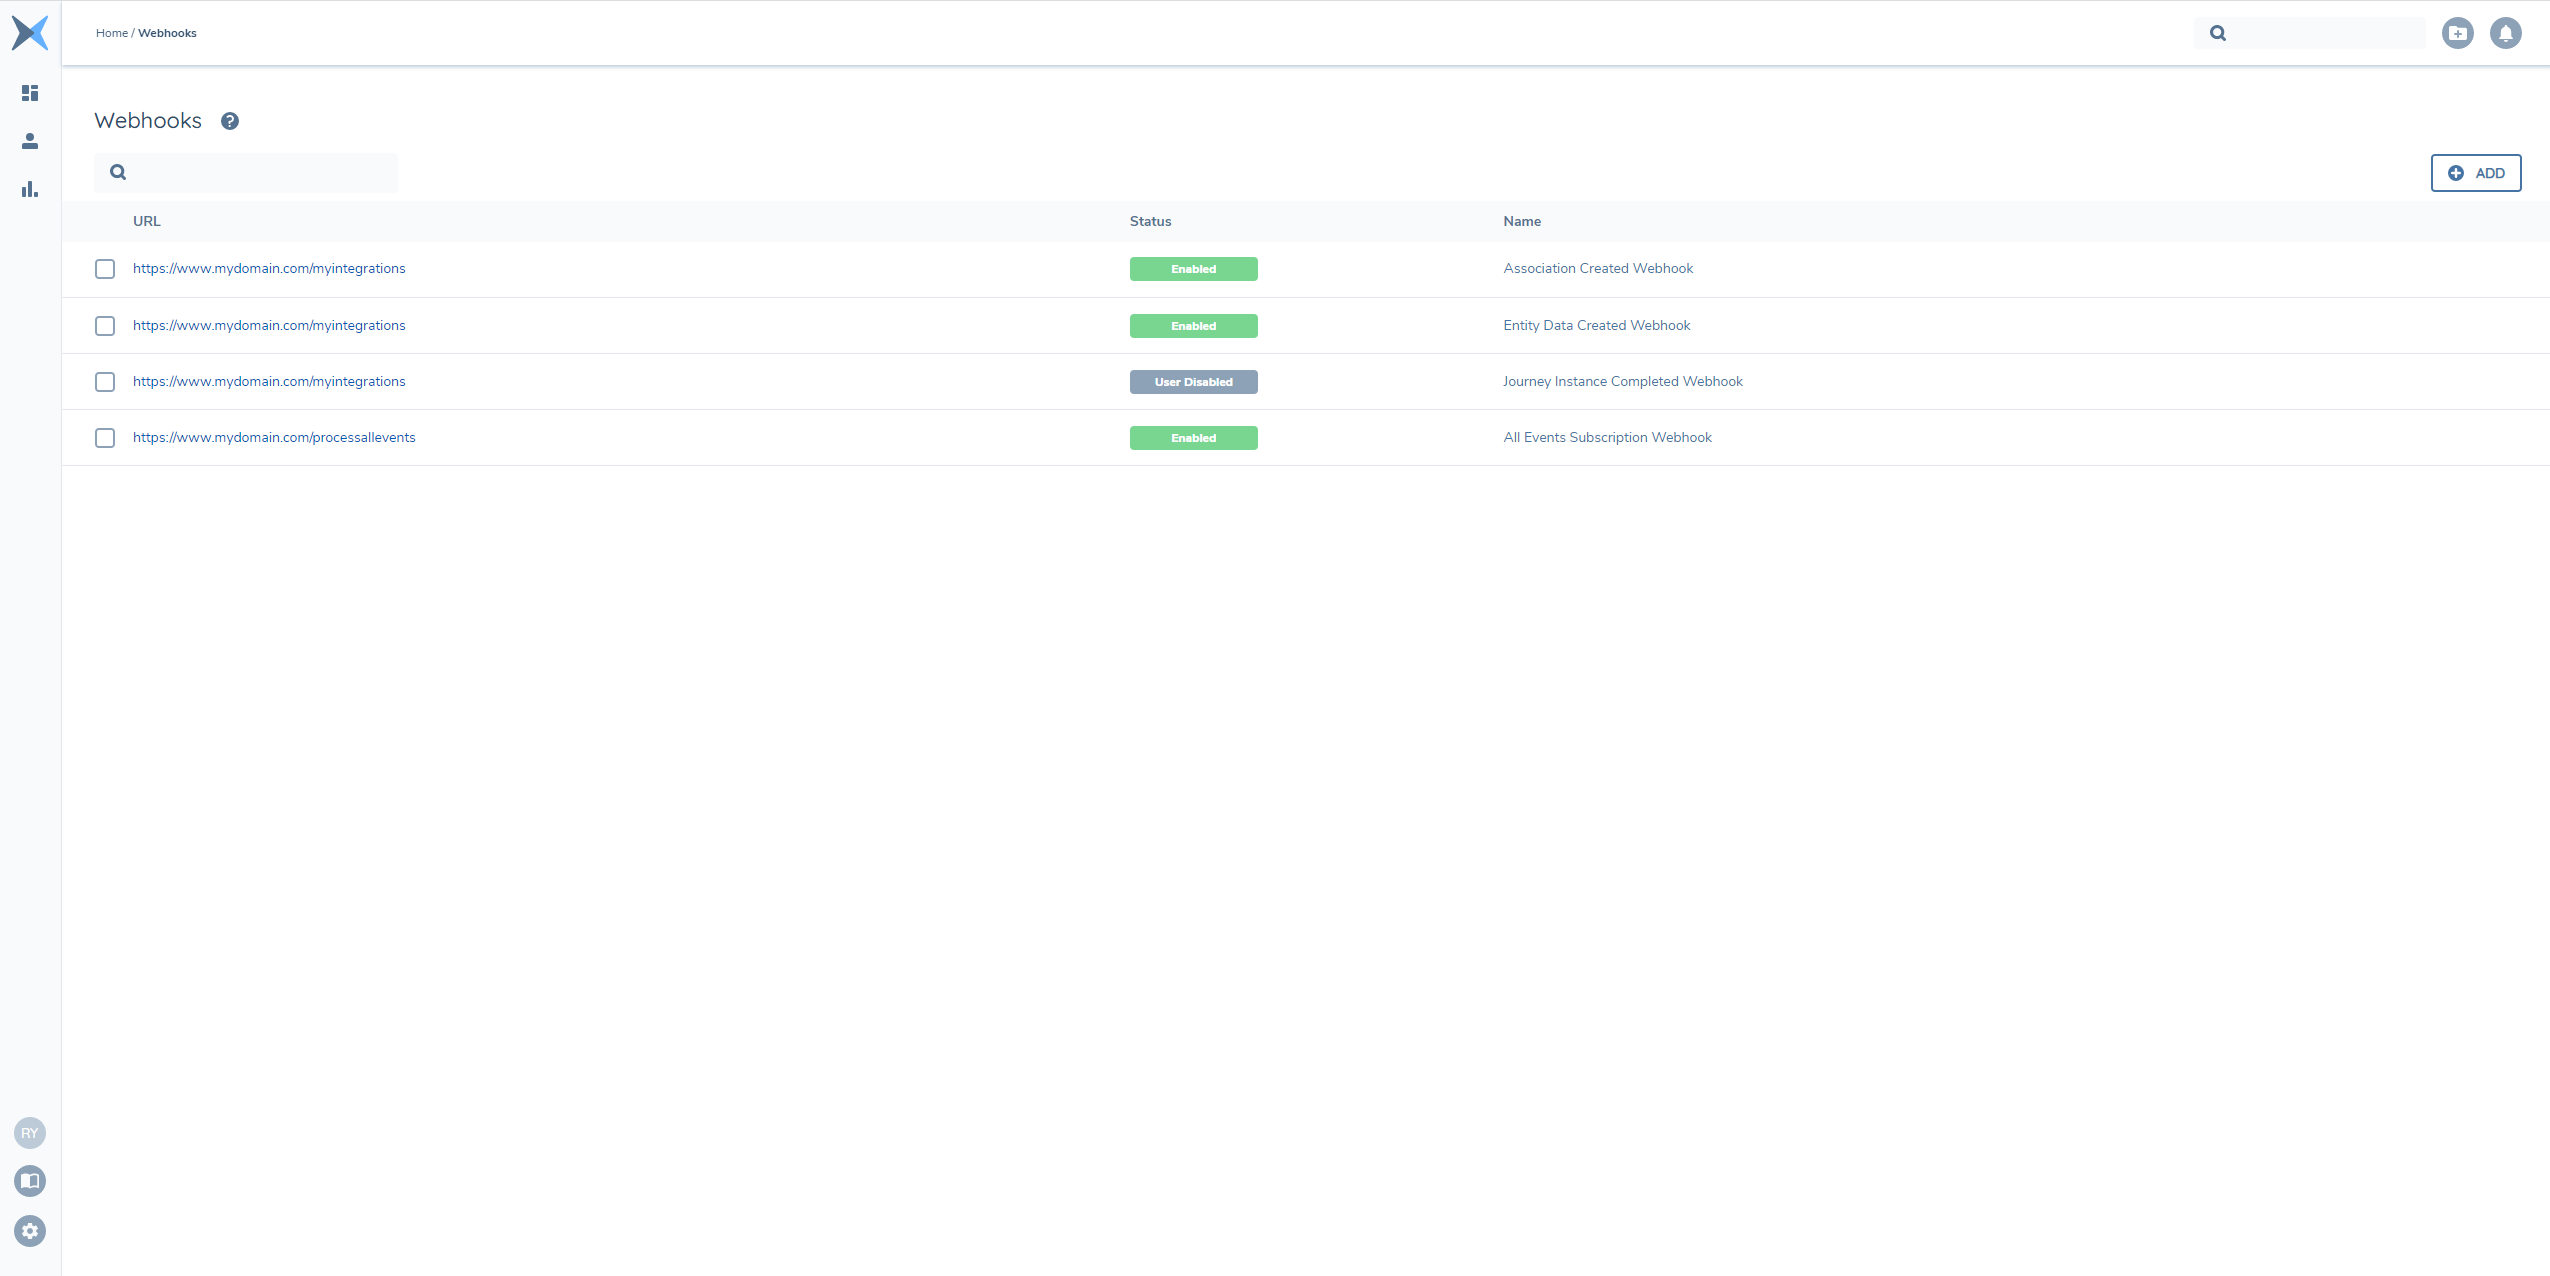
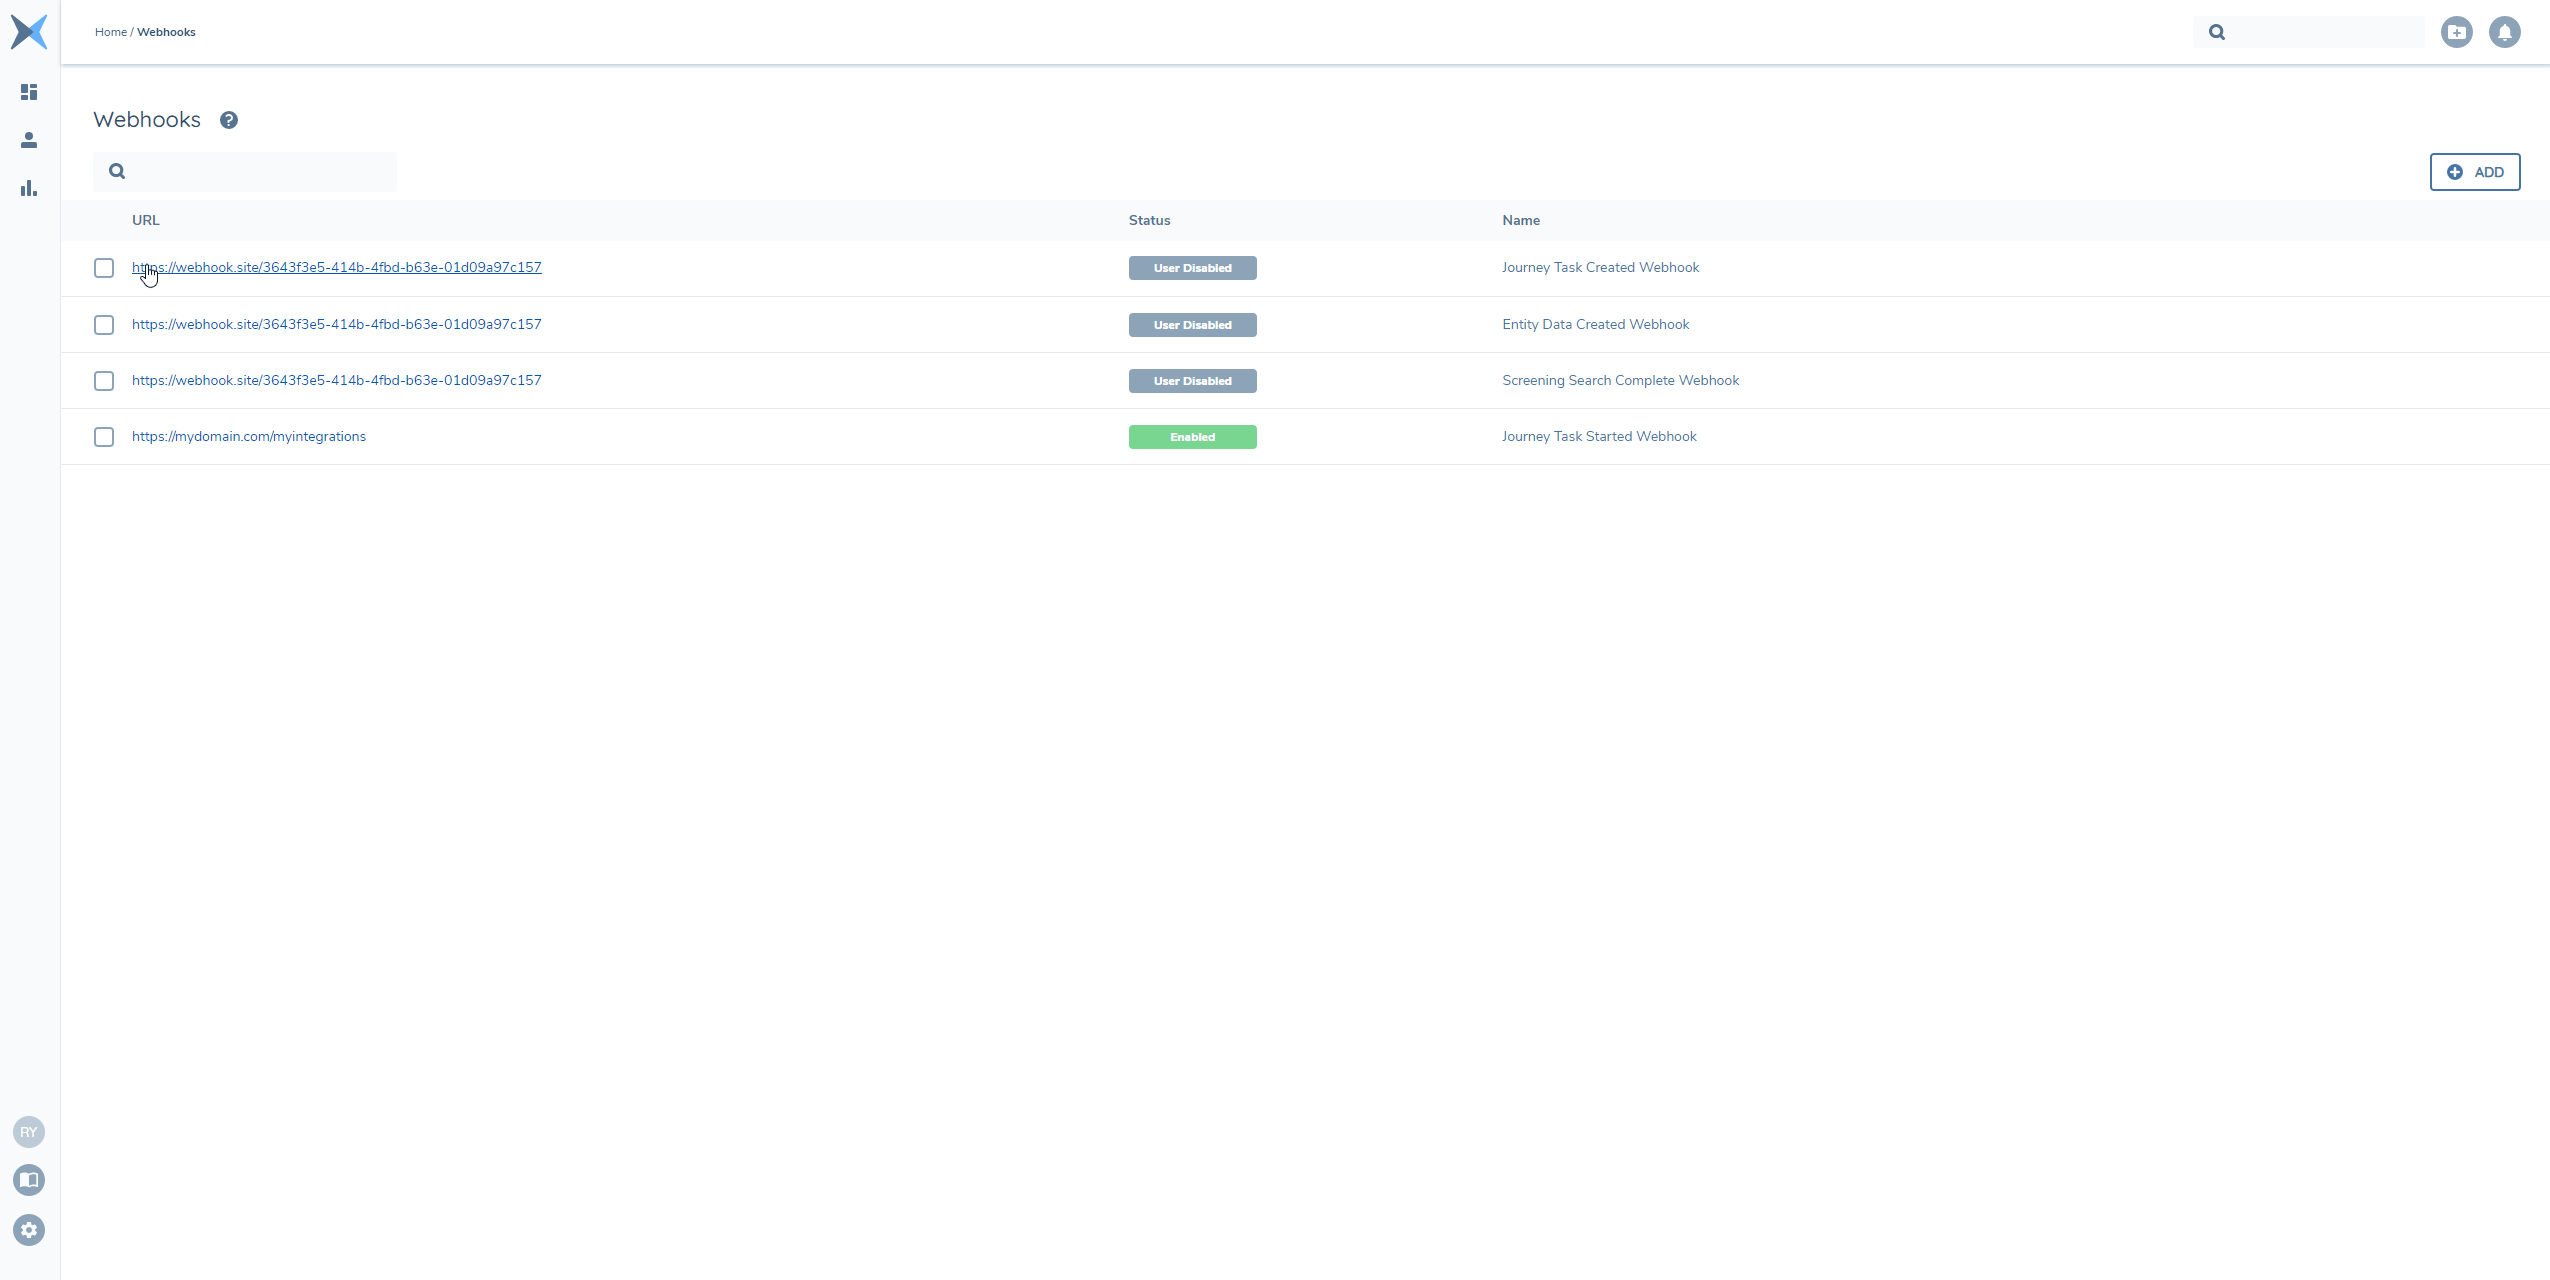
Webhooks List
The Webhooks List displays a list of all created webhooks. Each webhook entry will provide essential details such as name, URL, and status of webhook.
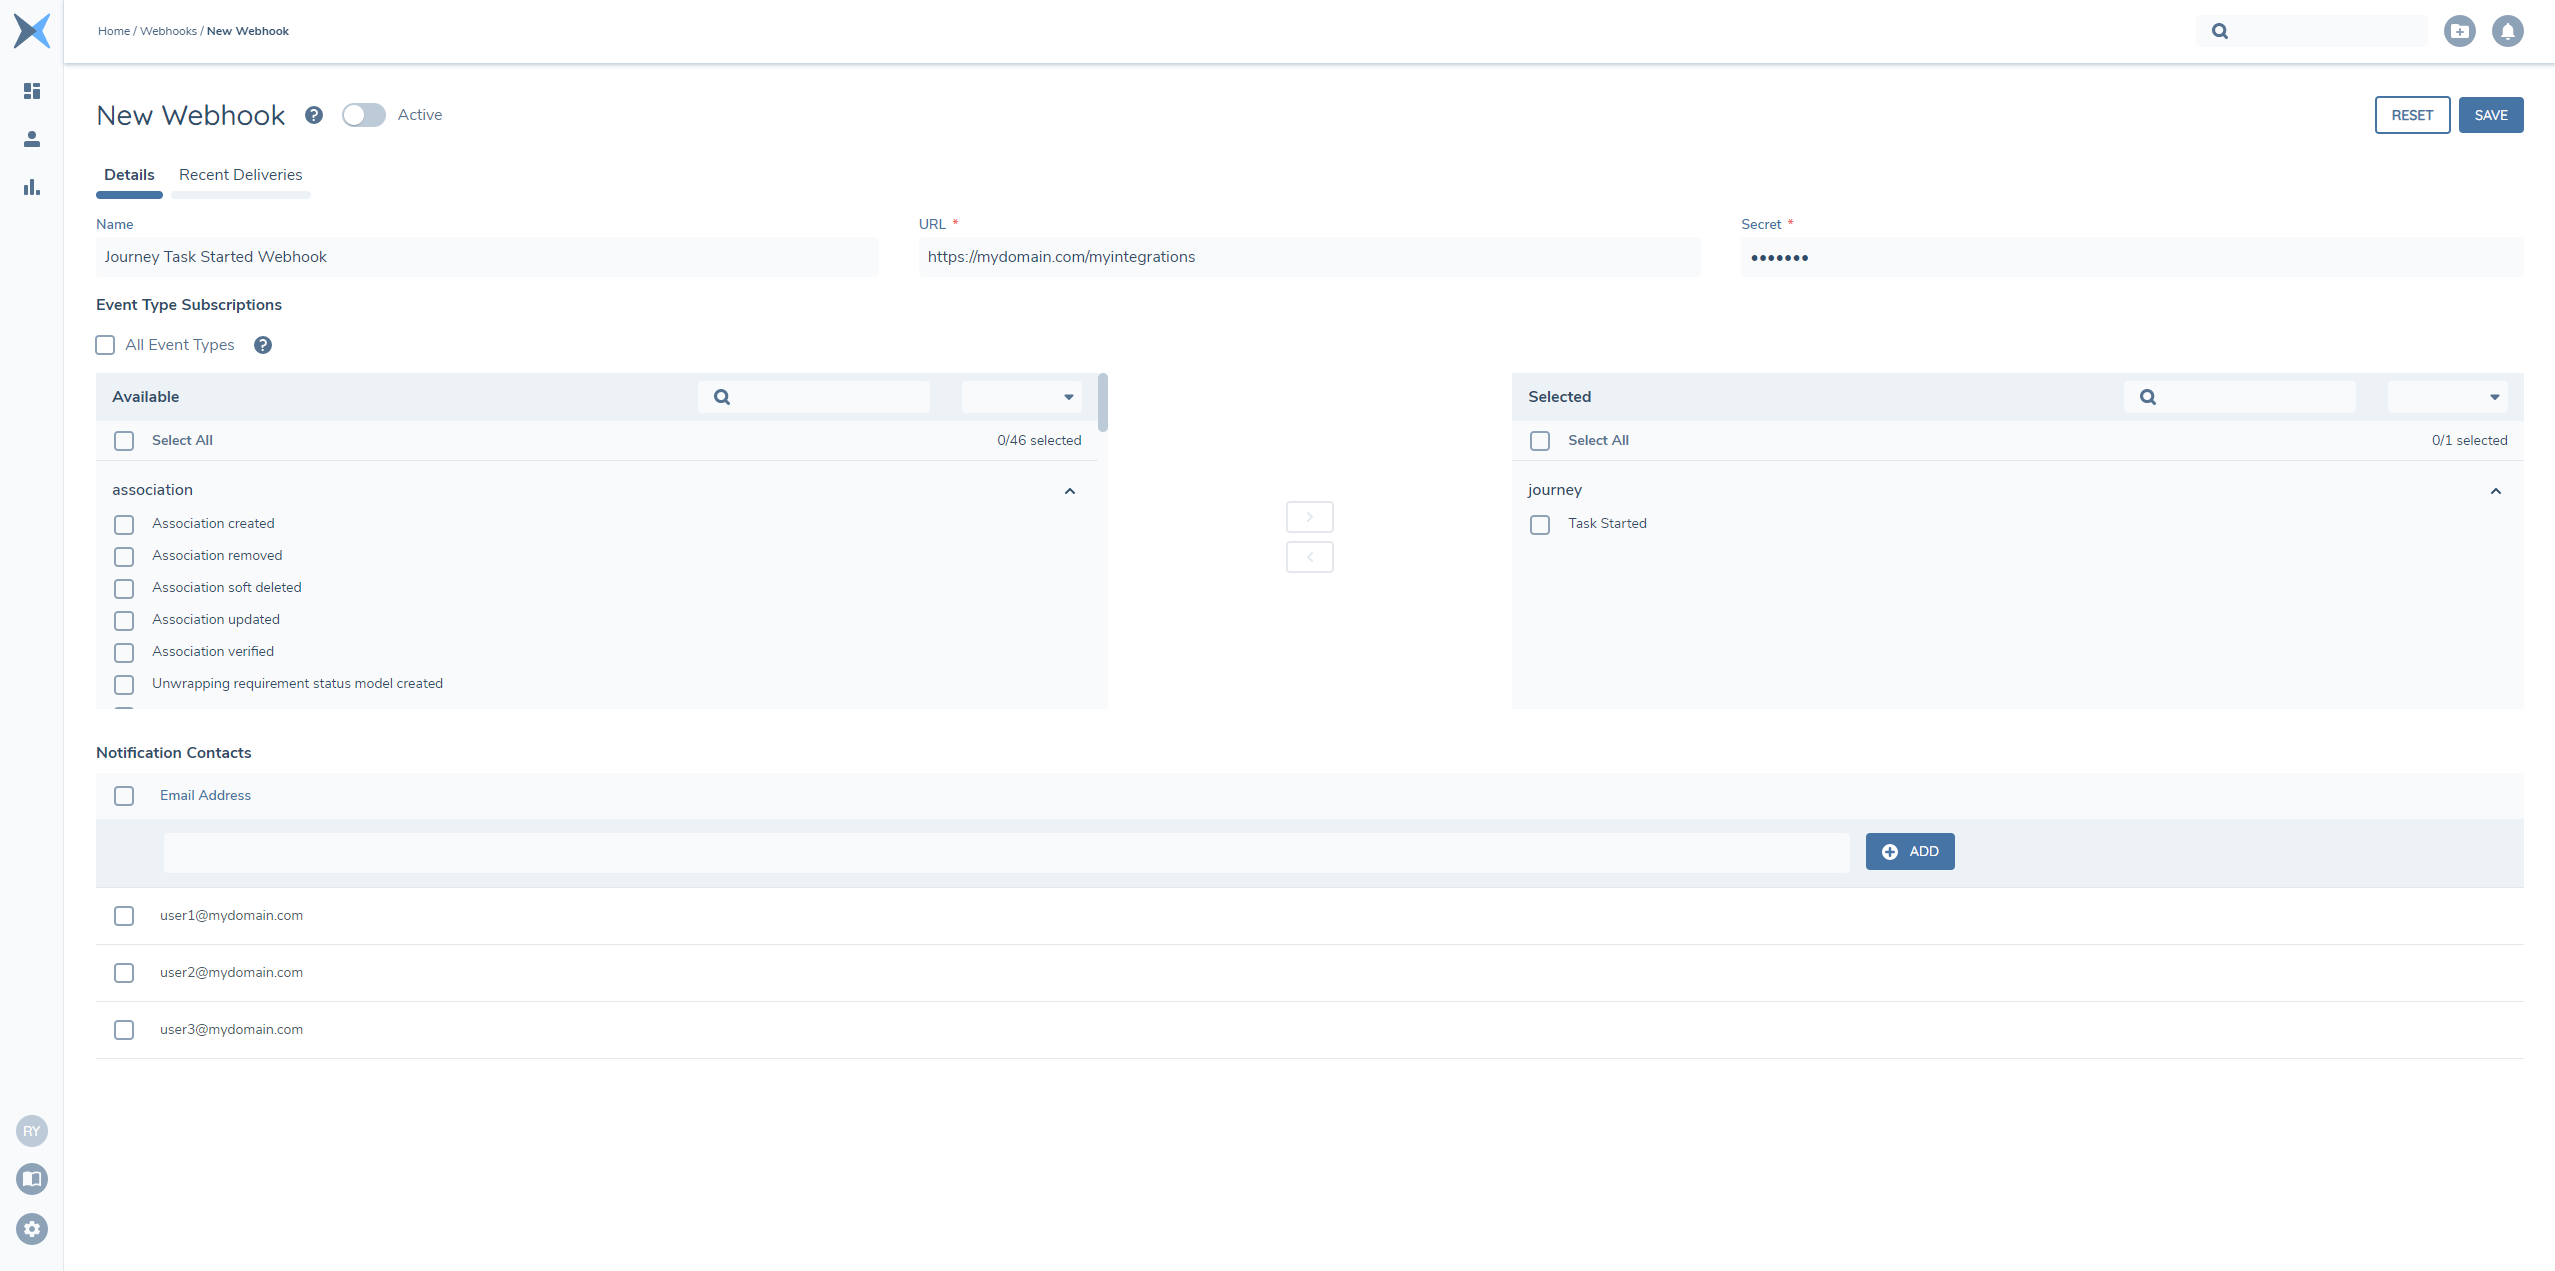
Creating a Webhook
Find the "Add" button within the Webhooks UI and click on it. It will navigate to the New Webhook UI. The New Webhook UI is made up of two tabs, Details and Recent Deliveries. In this section we will go over the Webhook Details, Recent Deliveries will be described in the next section.
The Details tab contains the details for the webhook, such as name, URL, secret, event types to subscribe to, and notification contacts to inform the provided email addresses when a webhook is disabled by the system. In Notification Contacts, you can can add up to 5 email addresses to get notifications from the system.
Fill in the necessary details. Once you've entered the required information, click on the "Save" button to create the webhook.
Editing a Webhook
To edit an existing webhook, locate the desired webhook entry in the Webhooks list and click on it to access the webhook details. Make the necessary changes and save the modifications.
Testing a Webhook
To test if a webhook is accessible from the Fenergo SaaS application, locate the desired webhook entry in the Webhooks list and access its details. Then, click on the "Test" button. This will trigger a test payload to be sent to the webhook URL.
Note: You cannot test unsaved webhooks.

Depending on the test result, you will see a notification in the UI:
- Webhook connection verified - the payload was delivered successfully to the webhook URL
- Failed to connect. Server responded with [HTTP Status Code] - the payload reached the target server, but the server responded with Status Code (e.g., 403, 404)
- Connection timed out - the payload couldn't access the webhook URL within a timeframe of 10 seconds
The payload sent to the webhook URL has the following form:
{
  "Id": "<webhook uuid>",
  "TenantId": "<tenant uuid>",
  "EventType": "webhook:test",
  "RelativeUrl": "/test",
  "Payload": null,
  "When": "2024-03-20T09:53:45.6150259+00:00",
  "CorrelationId": "",
  "CausationId": "<causation uuid>"
}
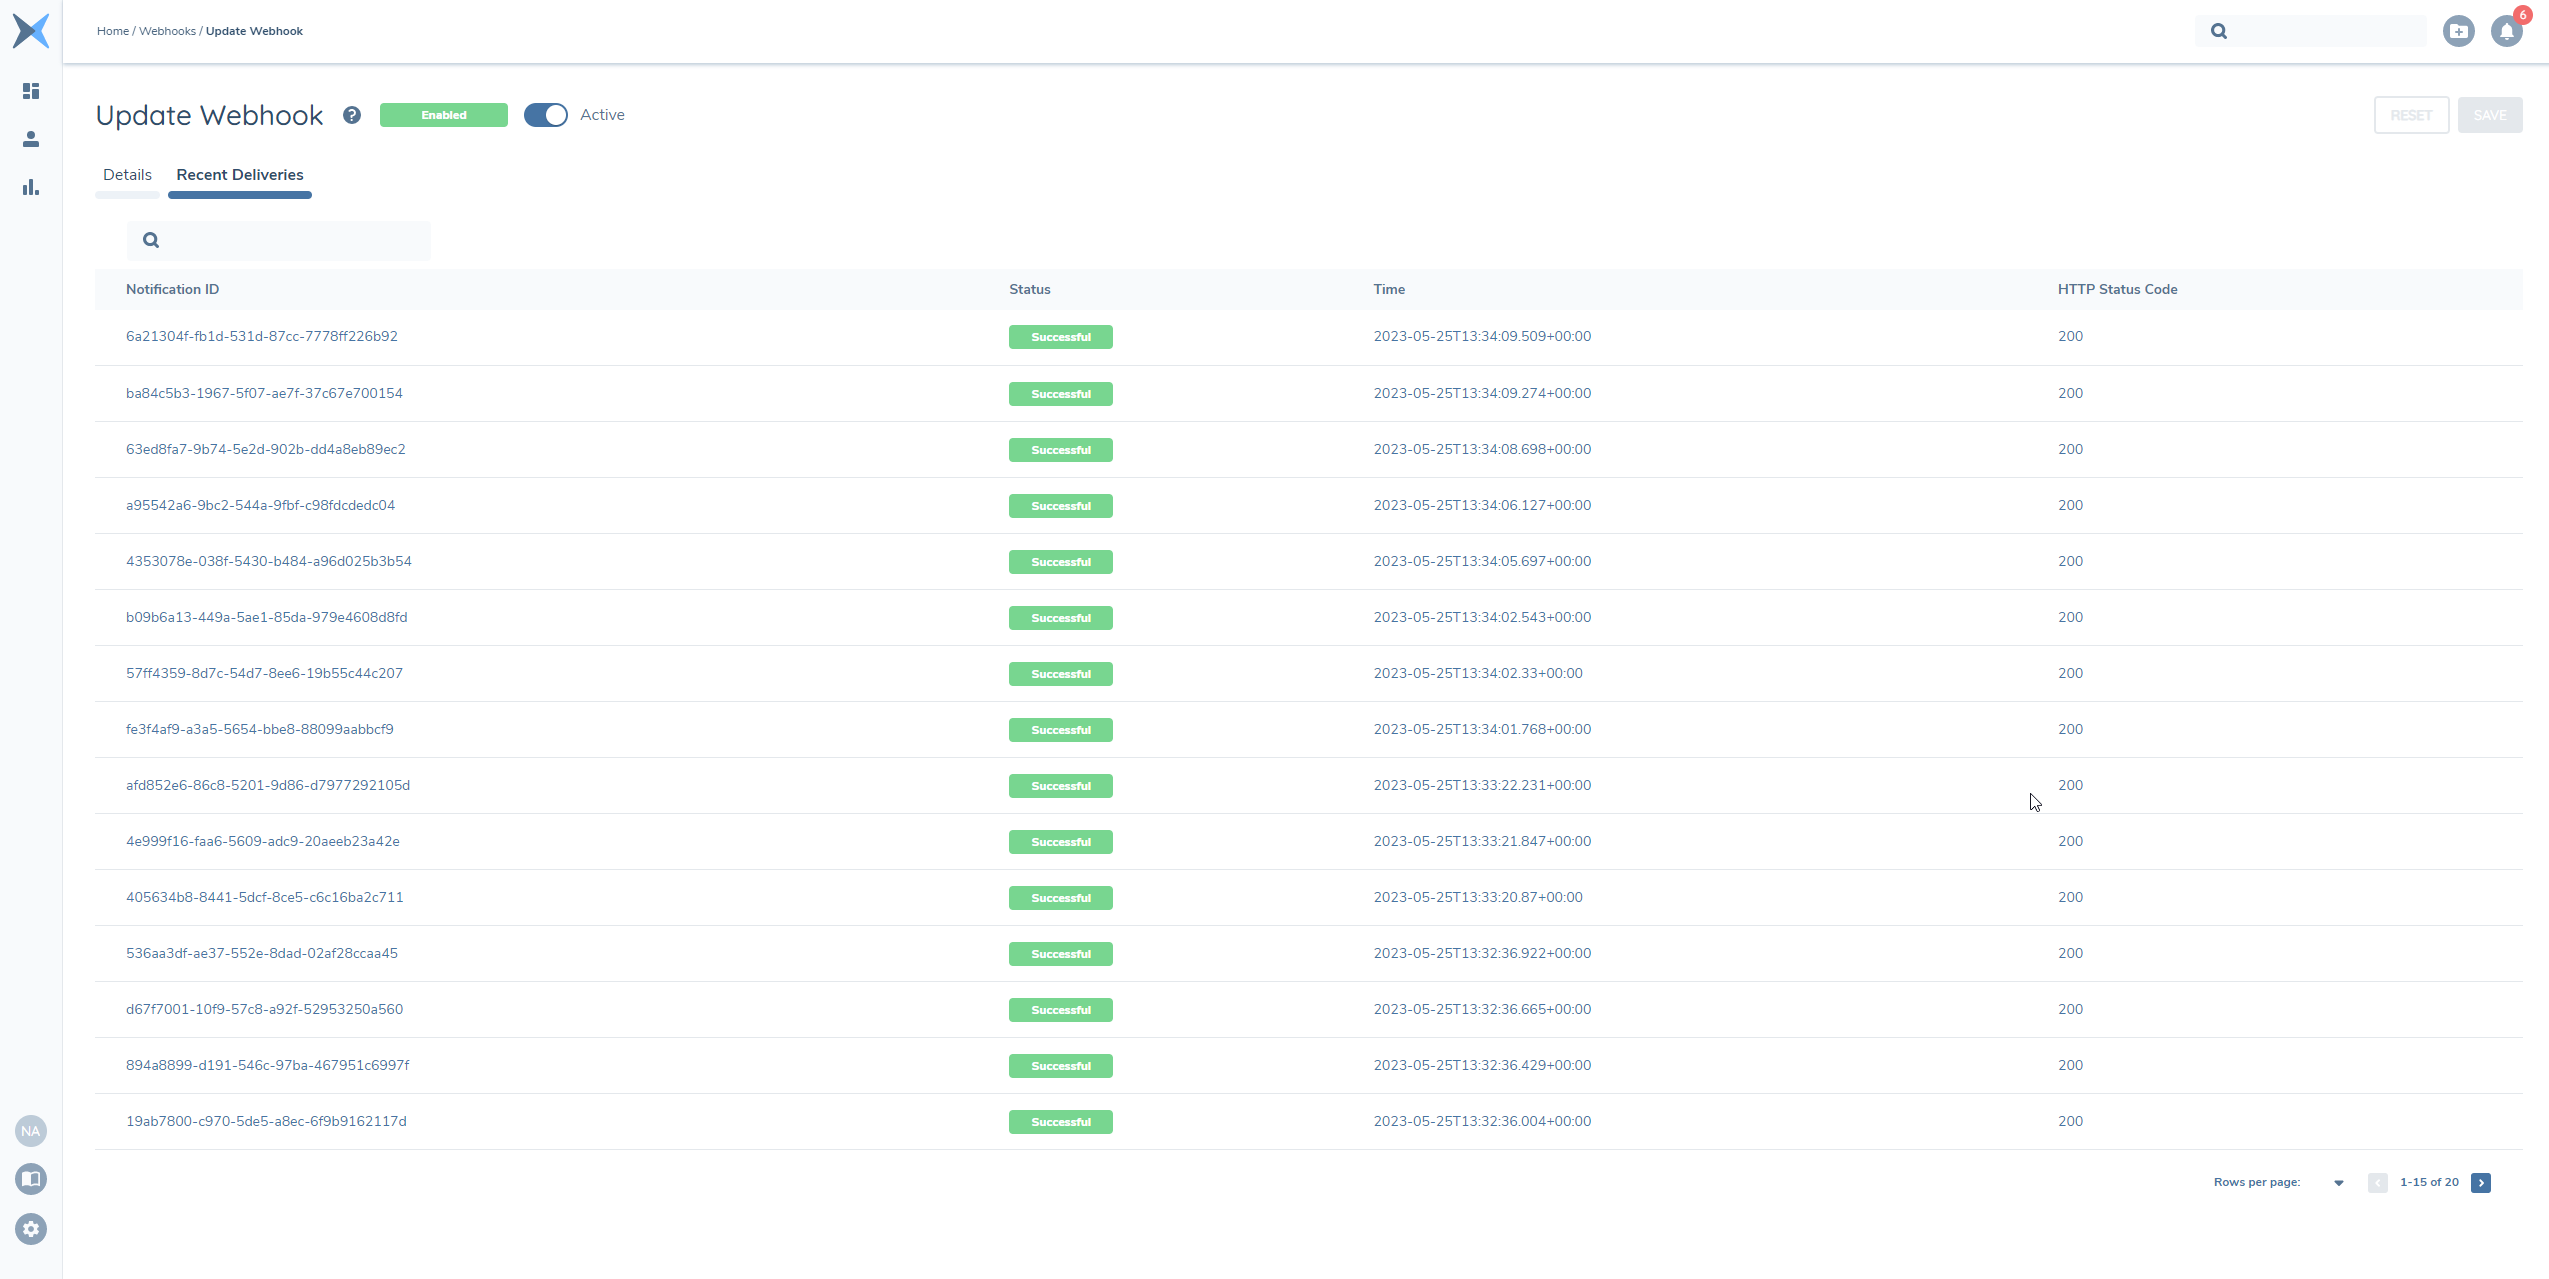
Viewing Recent Deliveries
To view the recent deliveries for a webhook, locate the desired webhook entry in the Webhooks list and click on it to access the webhook details. Select the "Recent Deliveries" tab. The UI will display a log of recent webhook deliveries, including information such as delivery status, timestamp, and HTTP Status Code.
Deleting Webhook(s)
If you want to remove webhook(s), find the corresponding webhook(s) entries in the Webhooks list, and select them. Once you selected the items, the "Delete" button will appear on the top right corner of the list. Click on the "Delete" button. Confirm the deletion when prompted.
Webhook Permissions
The Webhooks UI includes the following permissions:
- Access to Webhook - The ability to access webhooks UI.
- Manage Webhook - The ability to create, edit and delete webhooks.
Additional Tips
- Ensure that the URLs provided for webhook creation are valid and accessible from the Fenergo SaaS application.
- Regularly monitor the webhook delivery log to stay informed about the status of recent deliveries.
- Familiarize yourself with the available event types and their corresponding payloads to better utilize the webhook functionality.