Create a Transformer Library from a Repository
This guide walks through creating a Transformer Library whose code lives in an external Git repository (currently GitHub). Once connected, the file in the repository becomes the source of truth for the library, and the library is updated whenever the file changes — automatically when code is pushed, or on demand.
Who this is for
Integration engineers who want to manage reusable transformer code (helper functions, types, interfaces) in a Git repository instead of authoring it inline in the Studio editor.
Before you start
- A repository is already connected on the Repositories page (see Repository Connections).
- You have permission to edit Integration Flows configuration.
- The repository contains the file you want to expose as a library (e.g.
src/utils/helpers.ts).
Concept recap
| Term | Meaning |
|---|---|
| Repository-managed library | A library whose code is owned by an external Git repository. |
| Repository | The connected Git repository that provides the code. |
| File path | The location, inside the repository, of the file that backs the library. |
Step-by-step
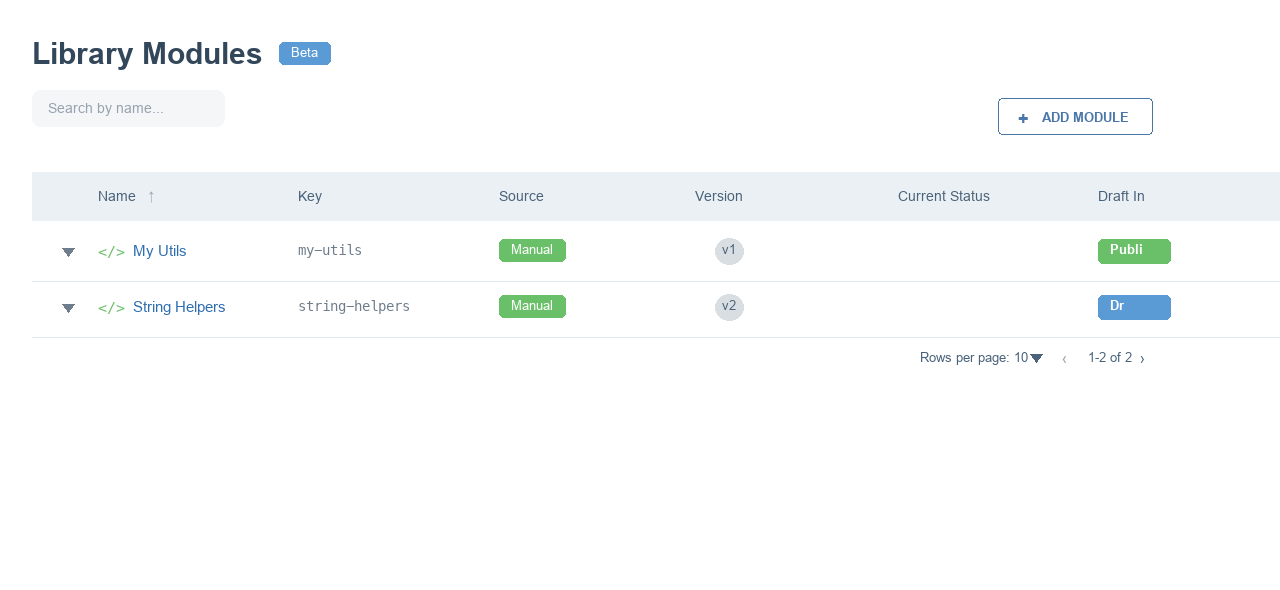
1. Open Library Modules
Navigate to Library Modules. The table lists every library and its latest version. The Add Module button (top right) starts the creation flow.
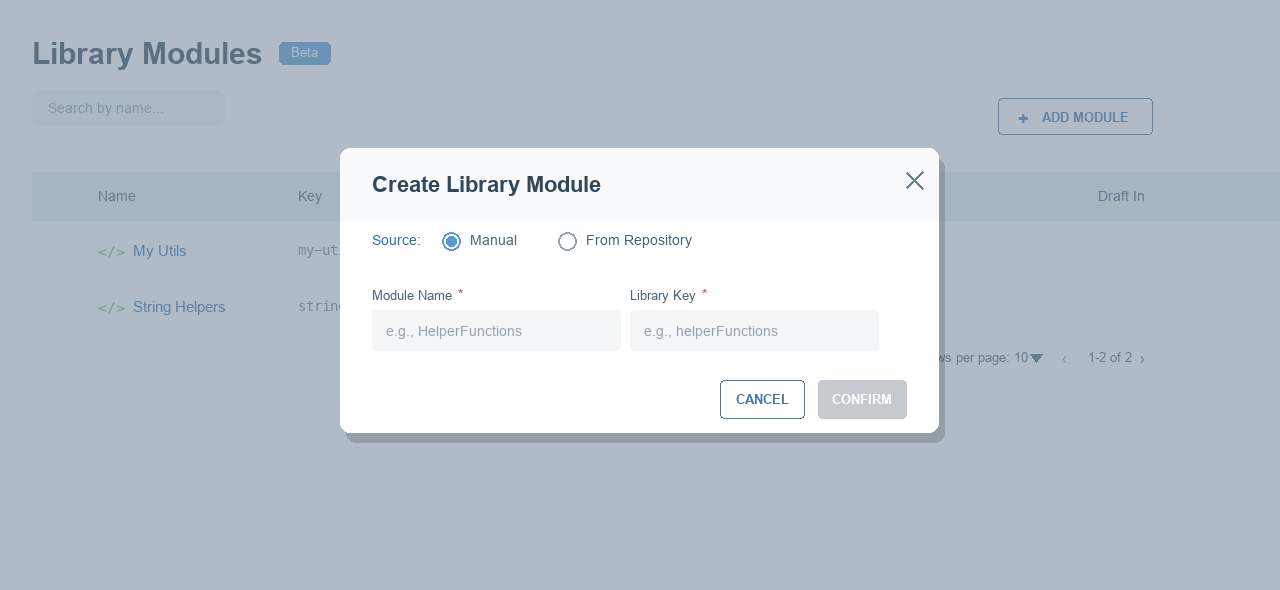
2. Open the Create dialog
Select Add Module. The Create Library Module dialog opens with the source set to Manual.
3. Switch the source to "From Repository"
Select the From Repository option. This reveals two extra fields: the Repository selector and the File Path input.
The From Repository option is disabled when no repositories are connected — its label then reads From Repository (no repositories connected). Connect a repository first.
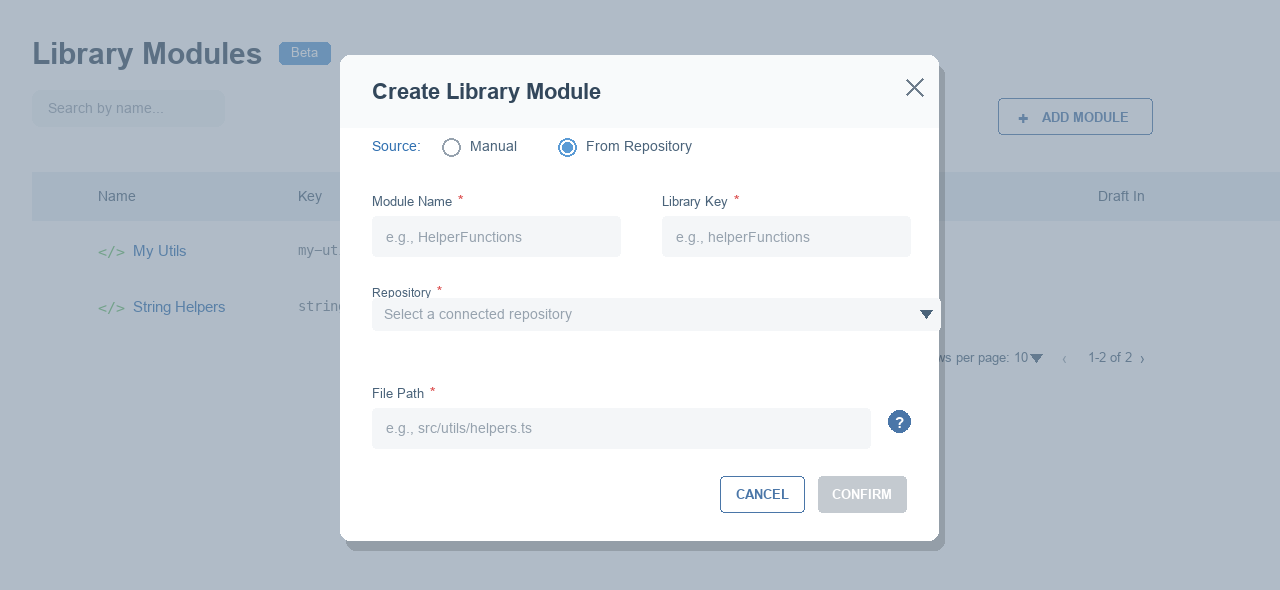
4. Pick a repository and the file path
- Repository — choose one of your connected repositories.
- Module Name — a friendly name. The Library Key is generated automatically and can be customised.
- File Path — the path to the file inside the repository (e.g.
src/utils/helpers.ts). The help icon explains the expected format.
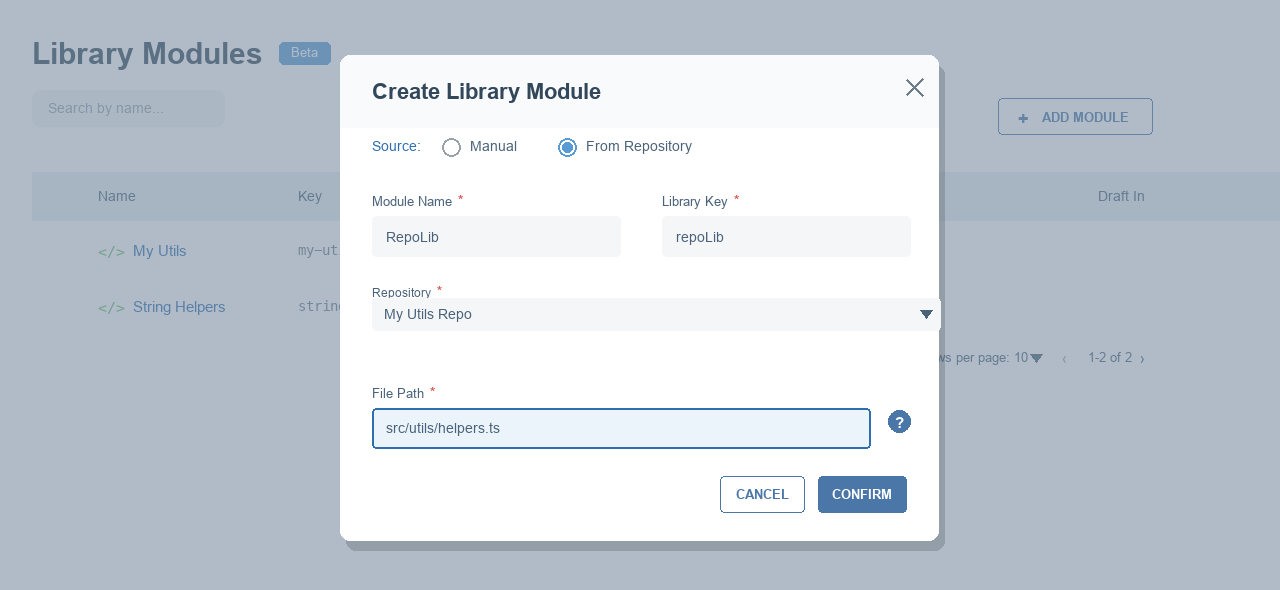
5. Confirm
The confirm button stays disabled until both a repository and a file path are provided (along with a valid name and key). On confirm, the library is created from the selected file and the dialog closes.
Keeping the library in sync
Once created, a repository-managed library is refreshed when the source file changes:
- Automatically — when code is pushed to the repository, the library is updated and a new published version is created if the content changed. See Automatic synchronization.
- Manually — use the Synchronize action in the library editor at any time. A new version is created only when the file has changed.
Validation rules
| Field | Rule |
|---|---|
| Module Name | Required. Must start with a letter and be unique. |
| Library Key | Generated from the name; must be unique. |
| Repository | Required when the source is From Repository. |
| File Path | Required when the source is From Repository. |
Troubleshooting
| Symptom | Likely cause | Fix |
|---|---|---|
| From Repository option is disabled | No repositories connected | Connect a repository on the Repositories page first. |
| Confirm button stays disabled | Missing repository, file path, name, or a duplicate key/name | Fill all required fields and make sure the name and key are unique. |
| Create fails | Invalid file path or the file cannot be processed | Check the file path and branch, and make sure the file is valid. |
| Library not updating after a push | Source file unchanged, or the connection needs attention | Only changed content creates a new version. Try a manual sync and check the repository connection. |